Tutorial, Part 2
At this point you should have created a project and labeled enough frames to train an initial model and get some predictions. If haven’t yet completed these steps, go back to the first part of the Tutorial.
Prediction-assisted labeling
Prediction-assisted labeling has two main goals. First, it speeds up the labeling process as it is faster to correct a predicted instance which is mostly correct than it is to add a new instance from scratch. Second, it provides feedback about where your model does well and where it does poorly, and this should give you a better idea of which frames will be most useful to label.
To run training, select “Run Training…” from the “Predict” menu. This trains new models using the frames that you’ve already labeled in your project, and then uses these models to predict instances in the suggested frames that you haven’t yet labeled (or on other random frames). This process can take a while, and since it runs on your machine, you should only try it if you have a GPU installed.

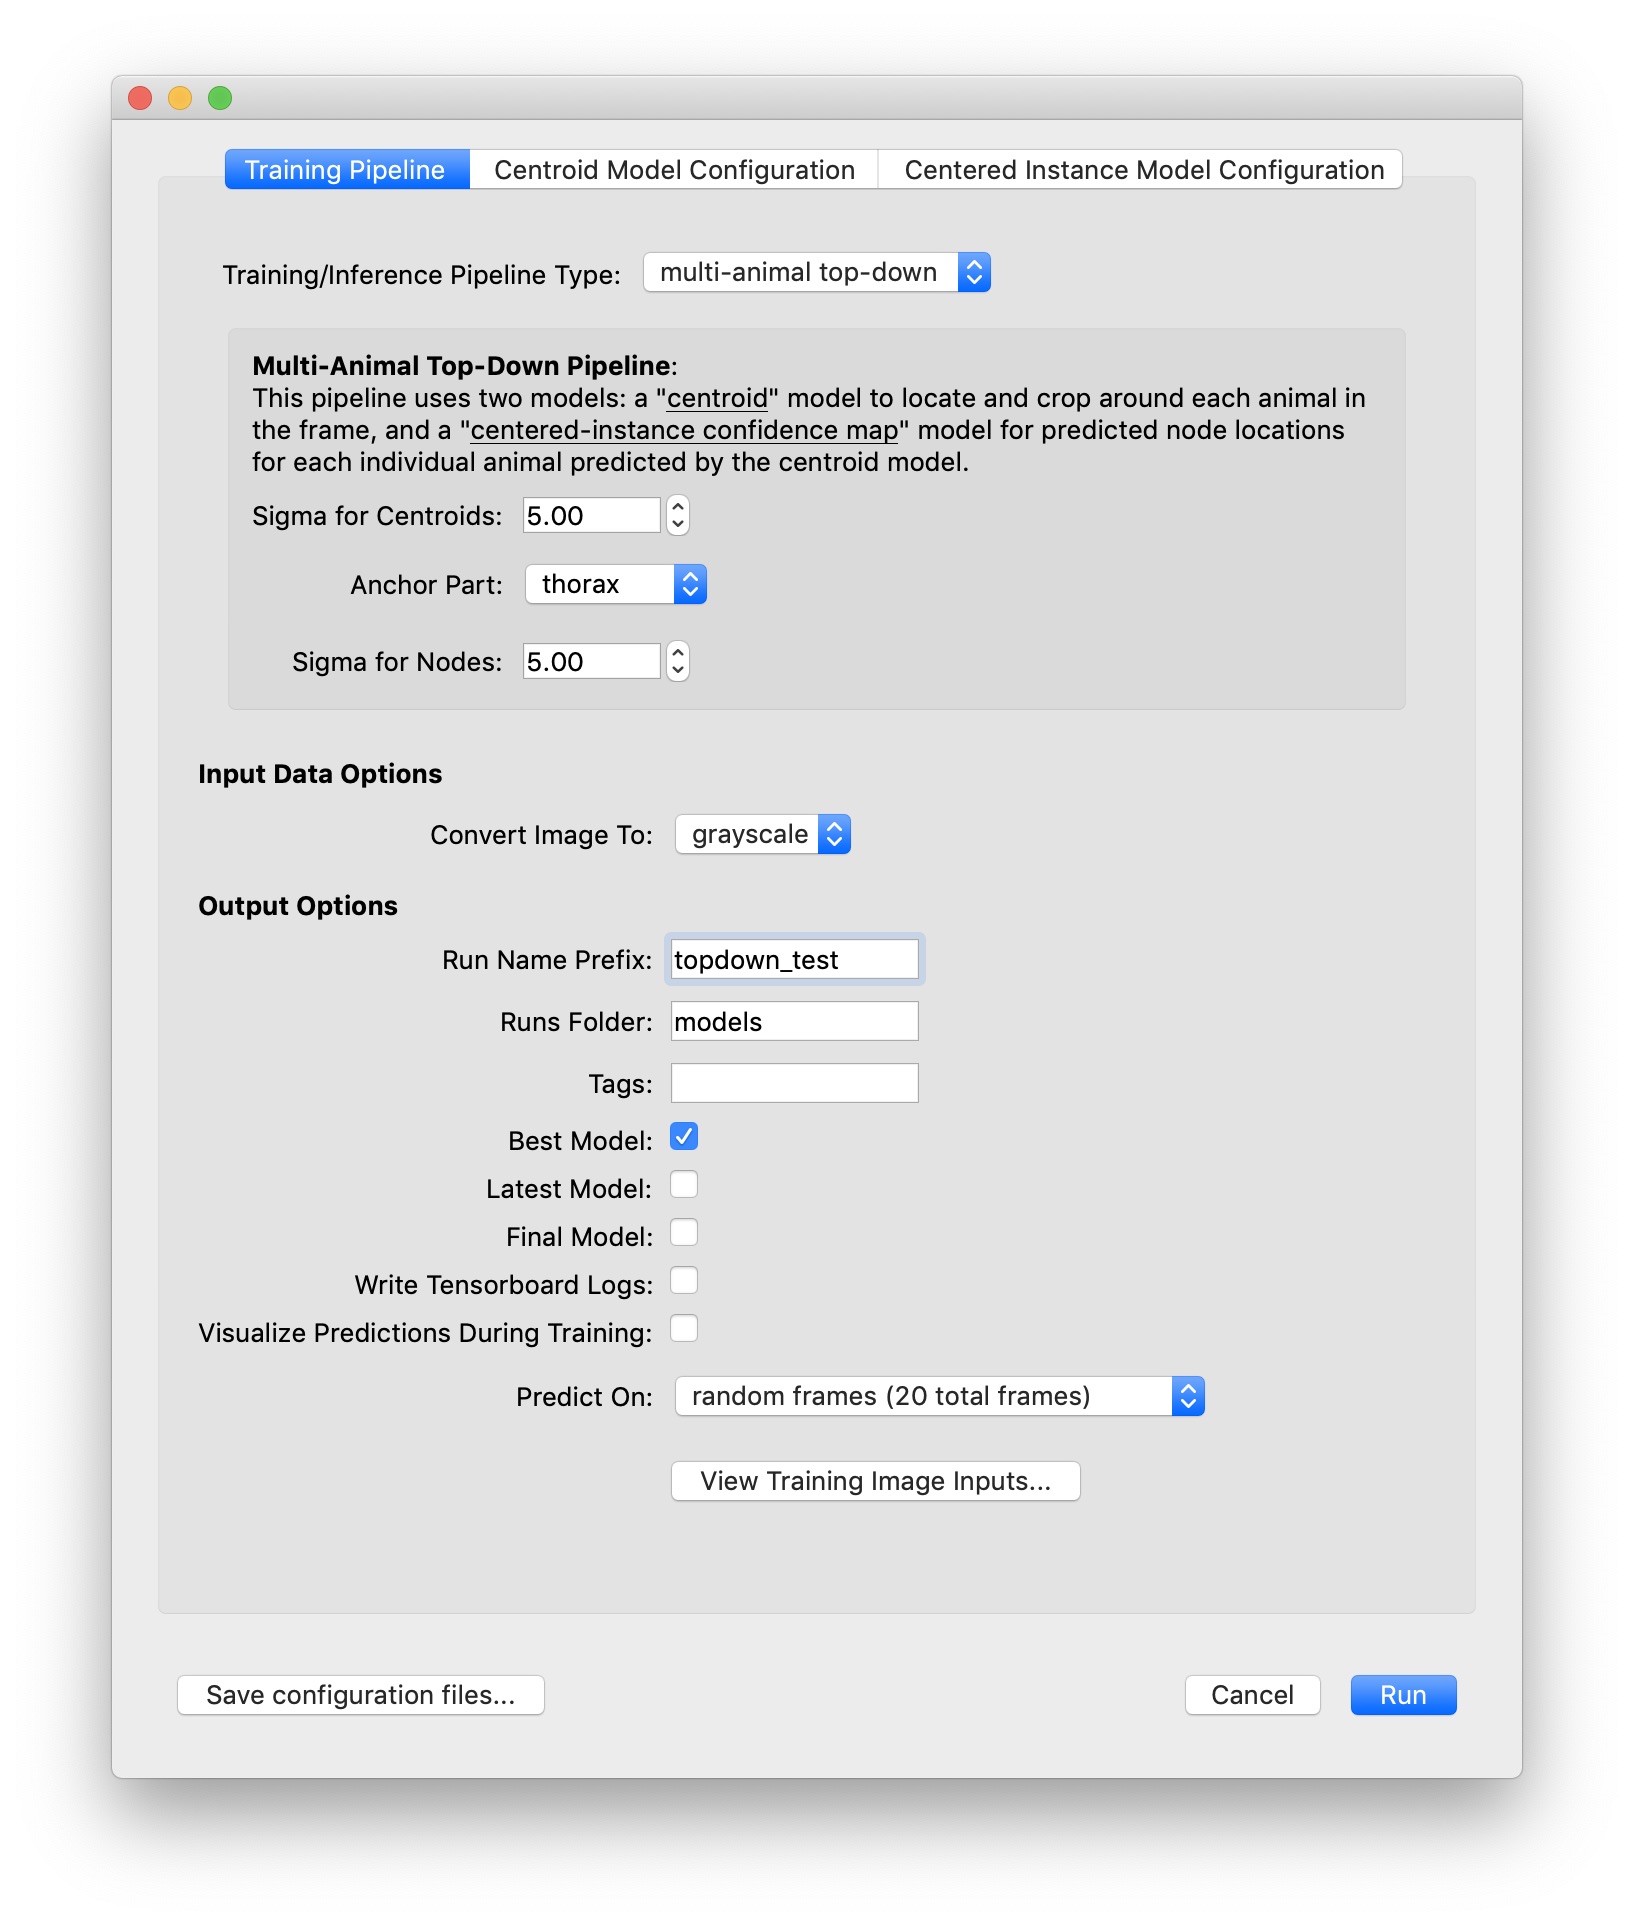
By default, training uses the training settings which we’ve found to work well on a wide range of videos. We train a “centroid” model on 1/4 scale images and then use this to crop where we think there are instances during inference. Another pair of models are trained on unscaled, cropped images. The “confidence map” model is used to infer node locations, and the “part affinity field” model is used to infer the edges that connect nodes.
There are a few hyperparameters that you can control for active learning:
Crop size ensures that the box for our crop is at least a given size instead of using the tightest crop that will bound any labeled instance.
Sigma controls the size of the confidence map gaussians and part affinity fields used for training.
Batch Size determines how many samples are used to train the neural network at one time. If you get an error that your GPU ran out of memory while training, you should try a smaller batch size.
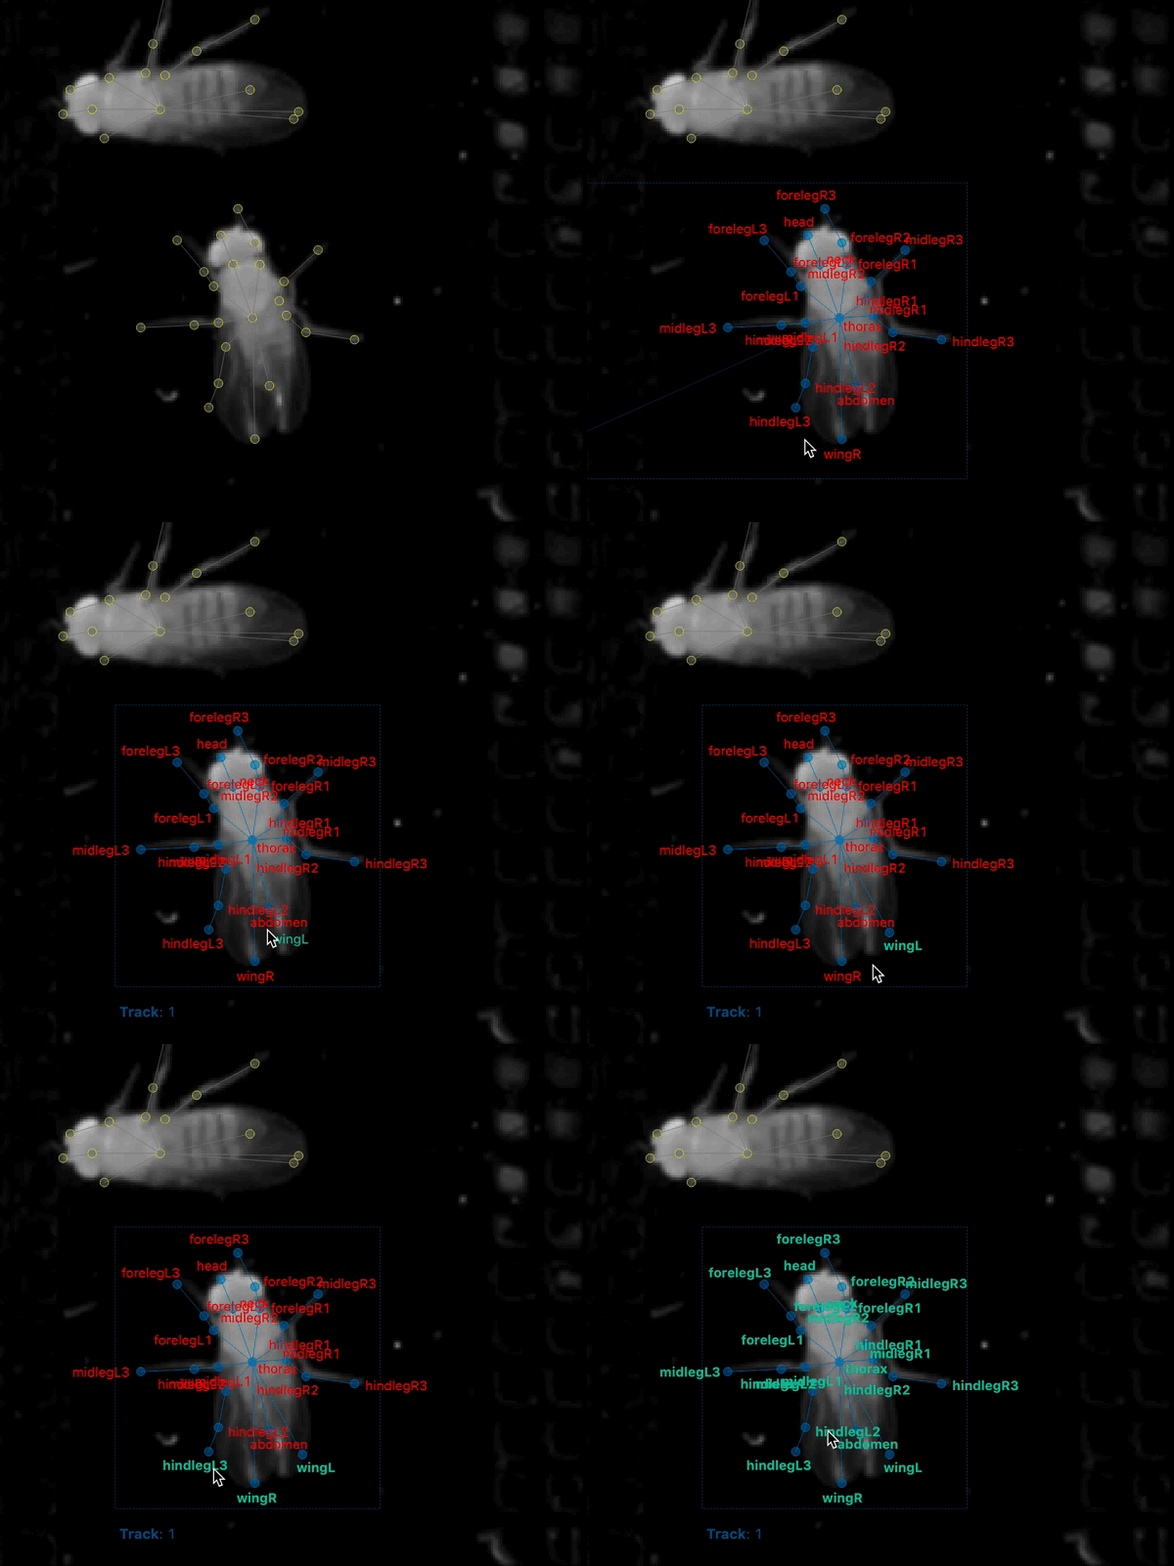
You can visually preview the effects of these settings on the training data by clicking the “View Training Image Inputs…” button. You’ll then see windows with the confidence maps and part affinity fields that will be used to train the models.
After setting the parameters click “Run Training and Inference”. During the training process, you’ll see a window where you can monitor the loss. Blue points are training loss for each batch, lines are training and validation loss for the epochs (these won’t appear until the second epoch has finished.) There’s a button to stop training the model when you think is appropriate, or the training will automatically stop if the model doesn’t improve for a certain number of epochs (15 by default)
First we train a model for confidence maps, part affinity fields, and centroids, and then we run inference. The GUI doesn’t yet give you a way to monitor the progress during inference, although it will alert you if an error occurs during inference.
When inference finishes, you’ll be told how many instances were predicted. Suggested frames with predicted instances will be marked in red on the seekbar.
Reviewing and fixing predictions
After you’ve successfully trained models and predicted some instances, you’ll get a message that inference has finished. Every suggested frame with predicted instances will have a distinctive mark in the seekbar. Suggested frames which you labeled are marked in blue while those with predicted instances are marked in red. Predicted instances will not be used for future model training unless you correct the predictions in the GUI.

Predicted instances in the frame are displayed in grey with yellow nodes. To edit a prediction, you’ll need to replace it with an editable instance. Double-click the predicted instance and it will be converted into a regular instance.
You can now edit the instance as before. Once you’ve added and/or corrected more instances, you can repeat the process: train a new model, predict on more frames, correct those predictions, and so on. You’ll want to regularly generate new frame suggestions, since active learning will return predictions for just these frames.
Stage 3: Tracking instances across frames
When you’re satisfied with the predictions you’re getting, you can use your models to predict on more frames by selecting “Run Inference…” from the “Predict” menu. This will use the most recently trained set of models.

Track proofreading
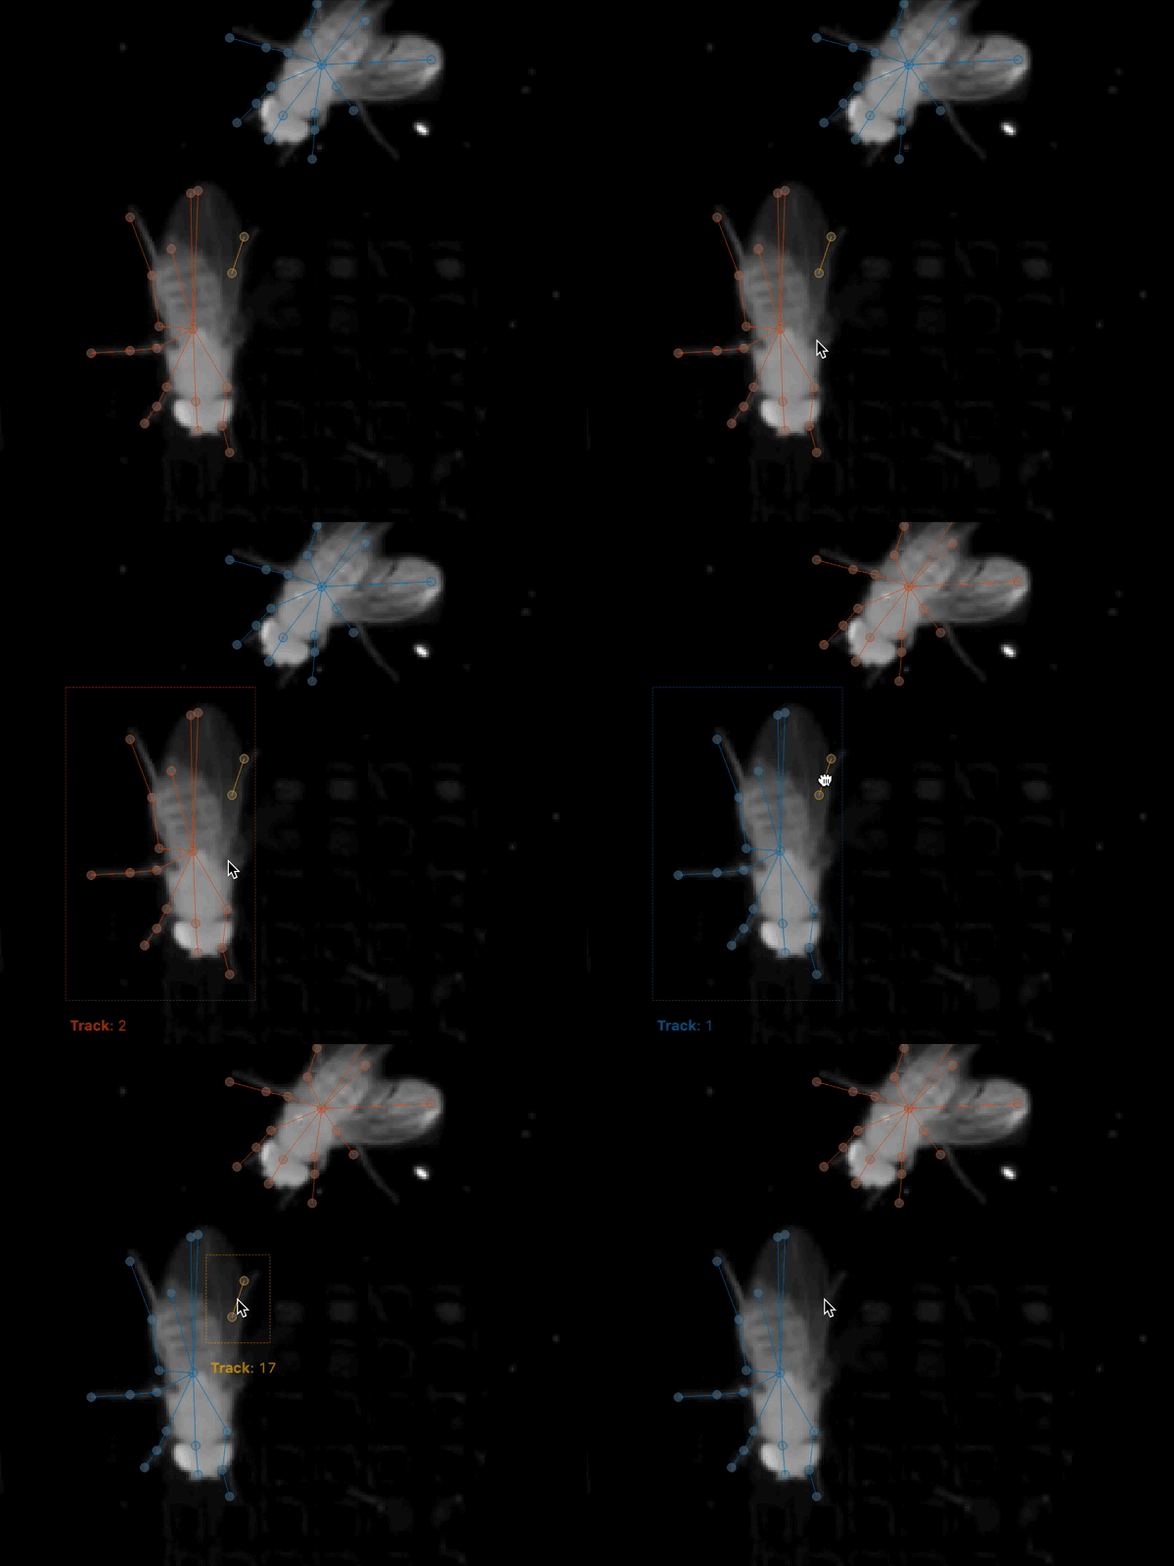
Once you have predicted tracks, you’ll need to proofread these to ensure that the identities of instances across frames are correct. By default, predicted instances all appear in grey and yellow. Select “Color Predicted Instances” to show the tracks in color. (Note that colors in the frame match colors in the seekbar and colors in the “Instances” panel.) Click an instance to see it’s track name. Double-click the track name in the “Instances” panel to change the name.
There are two main types of mistakes made by the tracking code: mistaken identities and lost identities.
Mistaken Identities: The code may misidentify which instance goes in which track, in which case you’ll want to “swap” the identities.
You can swap the identities assigned to a pair of instances by selecting “Transpose Instance Tracks” in the “Labels” menu. If there are just two instances in the frame, it already knows what it do. If there are more, you’ll have to click the two instances you want to swap.

You can assign an instance to a different (or new) track from the “Set Instance Track” submenu in the “Labels” menu.
You can select instances by typing a number between 1 and 9, by clicking the instance in the frame, or by clicking the instance in the “Instances” panel (on the right side of your main window). When an instance is selected, you’ll see its track name. These track names can be edited by double-clicking the track name in the “Instances” panel.
When you assign an instance to a track, this change will also be applied to all subsequent frames. For instance, if you move an instance from track 3 to track 2, then any instance in track 3 in subsequent frames will also be moved to track 2. This lets you effectively “merge” tracks.
Lost Identities: The code may fail to identity an instance in one frame with any instances from previous frames. In this case, you’ll want to find the first frame in which the new track occurs and change the instance track to the track from previous frames. The “Next Track Spawn Frame” command in the “Labels” menu will take you to the next frame in which a new track is spawned.
For more tools and tips, see the Tracking and proofreading how-to.