Creating a project#
Starting SLEAP#
If you haven’t installed SLEAP yet, see Installation for instructions.
Once you have SLEAP installed, start by opening a terminal. If you installed via the recommended method, activate the environment with:
conda activate sleap
Hint
To open a terminal:
Windows: Open the Start menu and search for the Anaconda Command Prompt (if using Miniconda) or the Command Prompt if not.
Note
On Windows, our personal preference is to use alternative terminal apps like Cmder or Windows Terminal.
Linux: Launch a new terminal by pressing Ctrl + Alt + T.
Mac: Launch a new terminal by pressing Cmd + Space and searching for Terminal.
To launch the GUI, simply enter in the terminal:
sleap-label
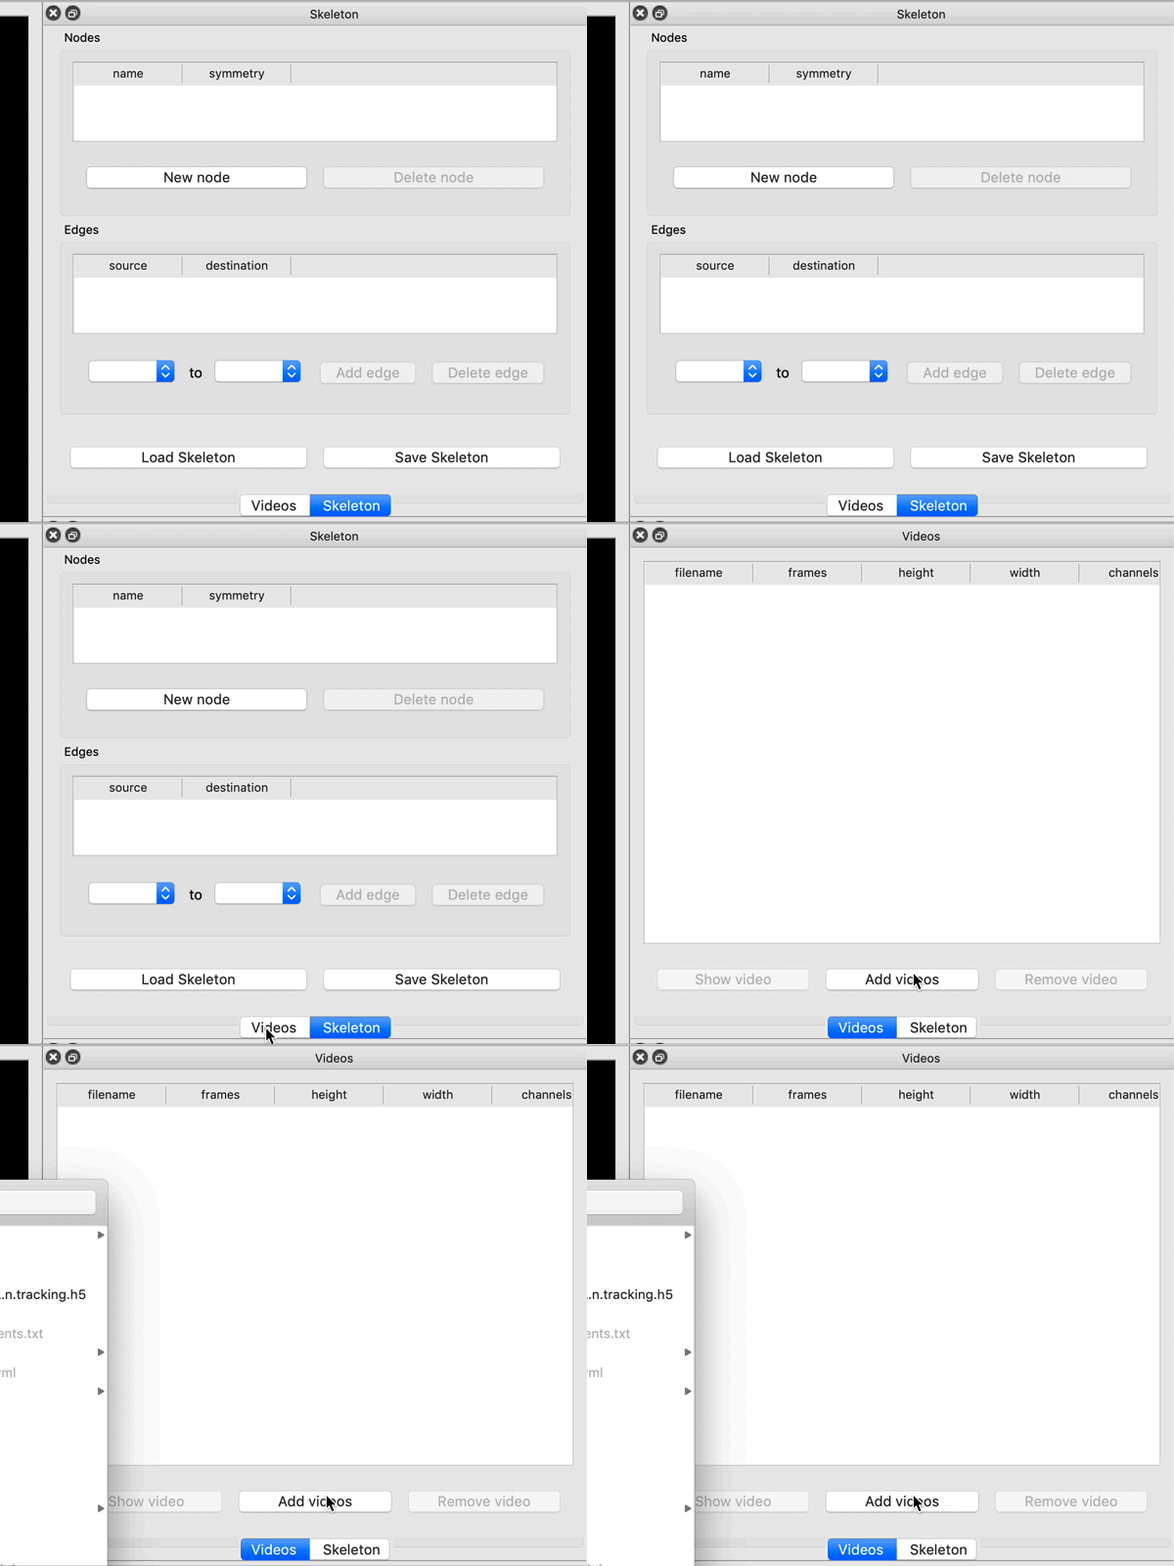
When you first start SLEAP you’ll see a new, empty project.
Opening a video#
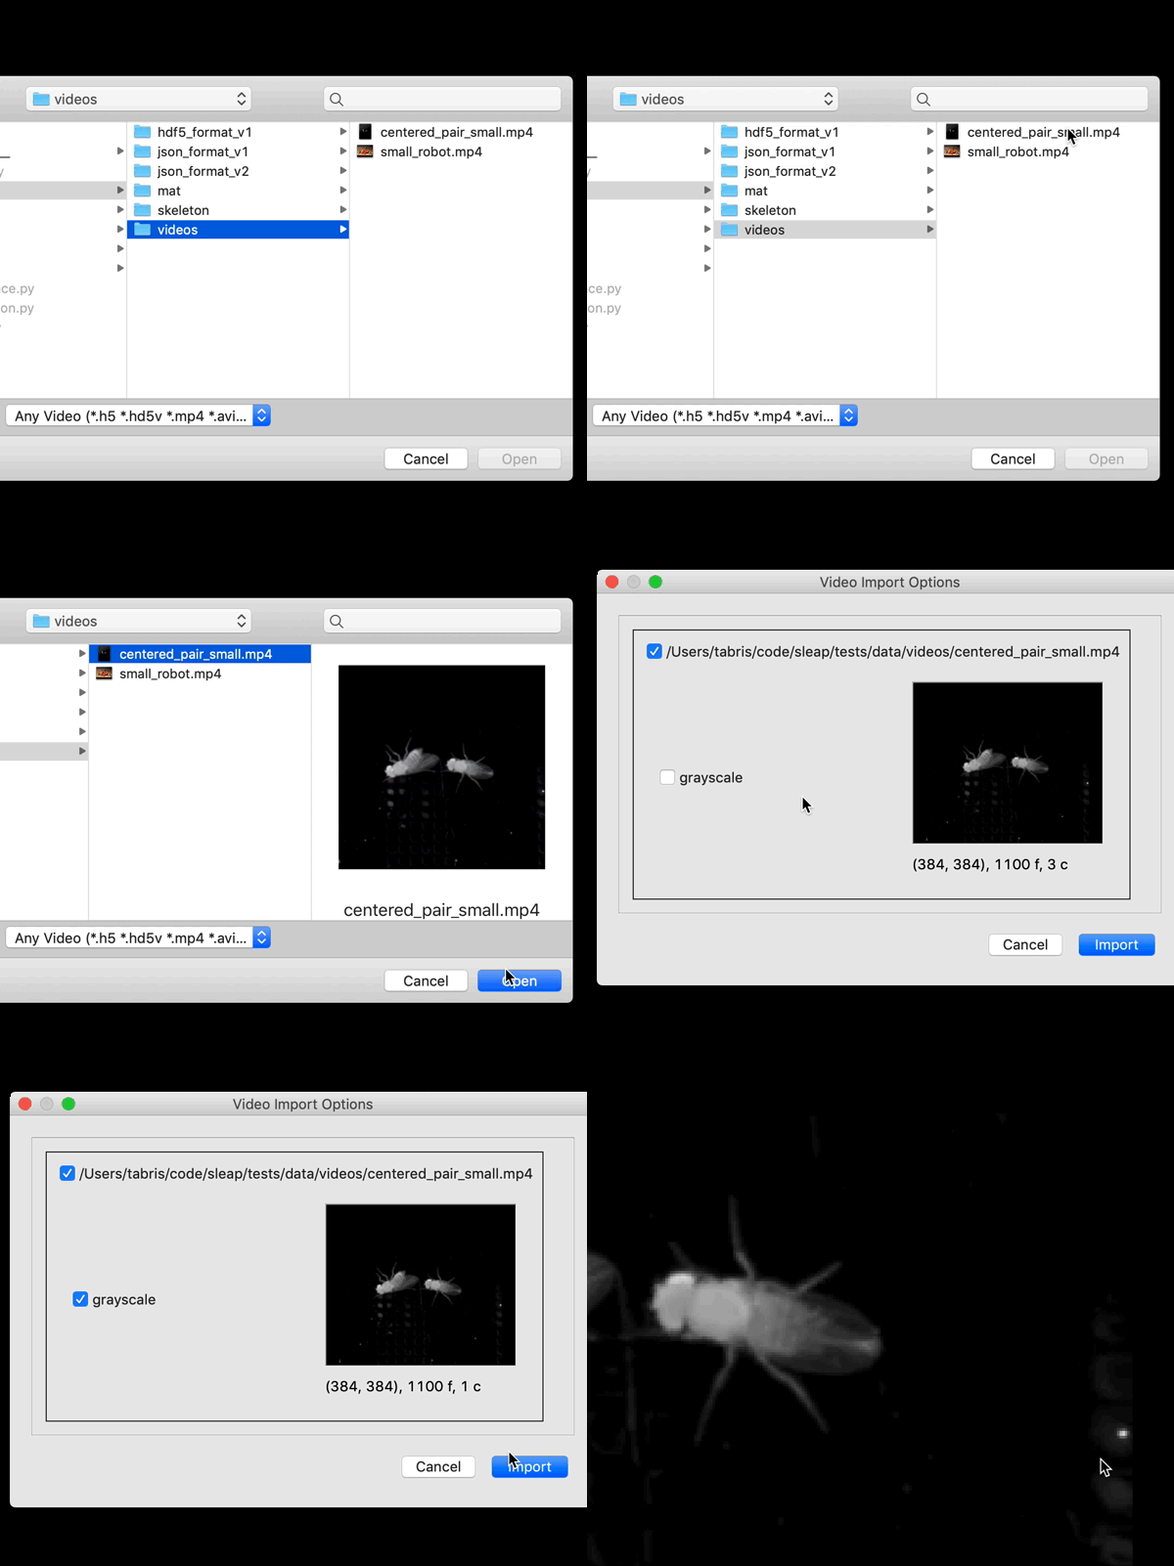
Add a video by clicking the “Add Video” button in the “Videos” panel on the right side of the main window, or by dragging-and-dropping your video file from its folder into the SLEAP GUI.

You’ll then be able to select one or more video files and click “Open”. SLEAP currently supports mp4, avi, and h5 files. For mp4 and avi files, you’ll be asked whether to import the video as grayscale. For h5 files, you’ll be asked the dataset and whether the video is stored with channels first or last.

Creating a Skeleton#
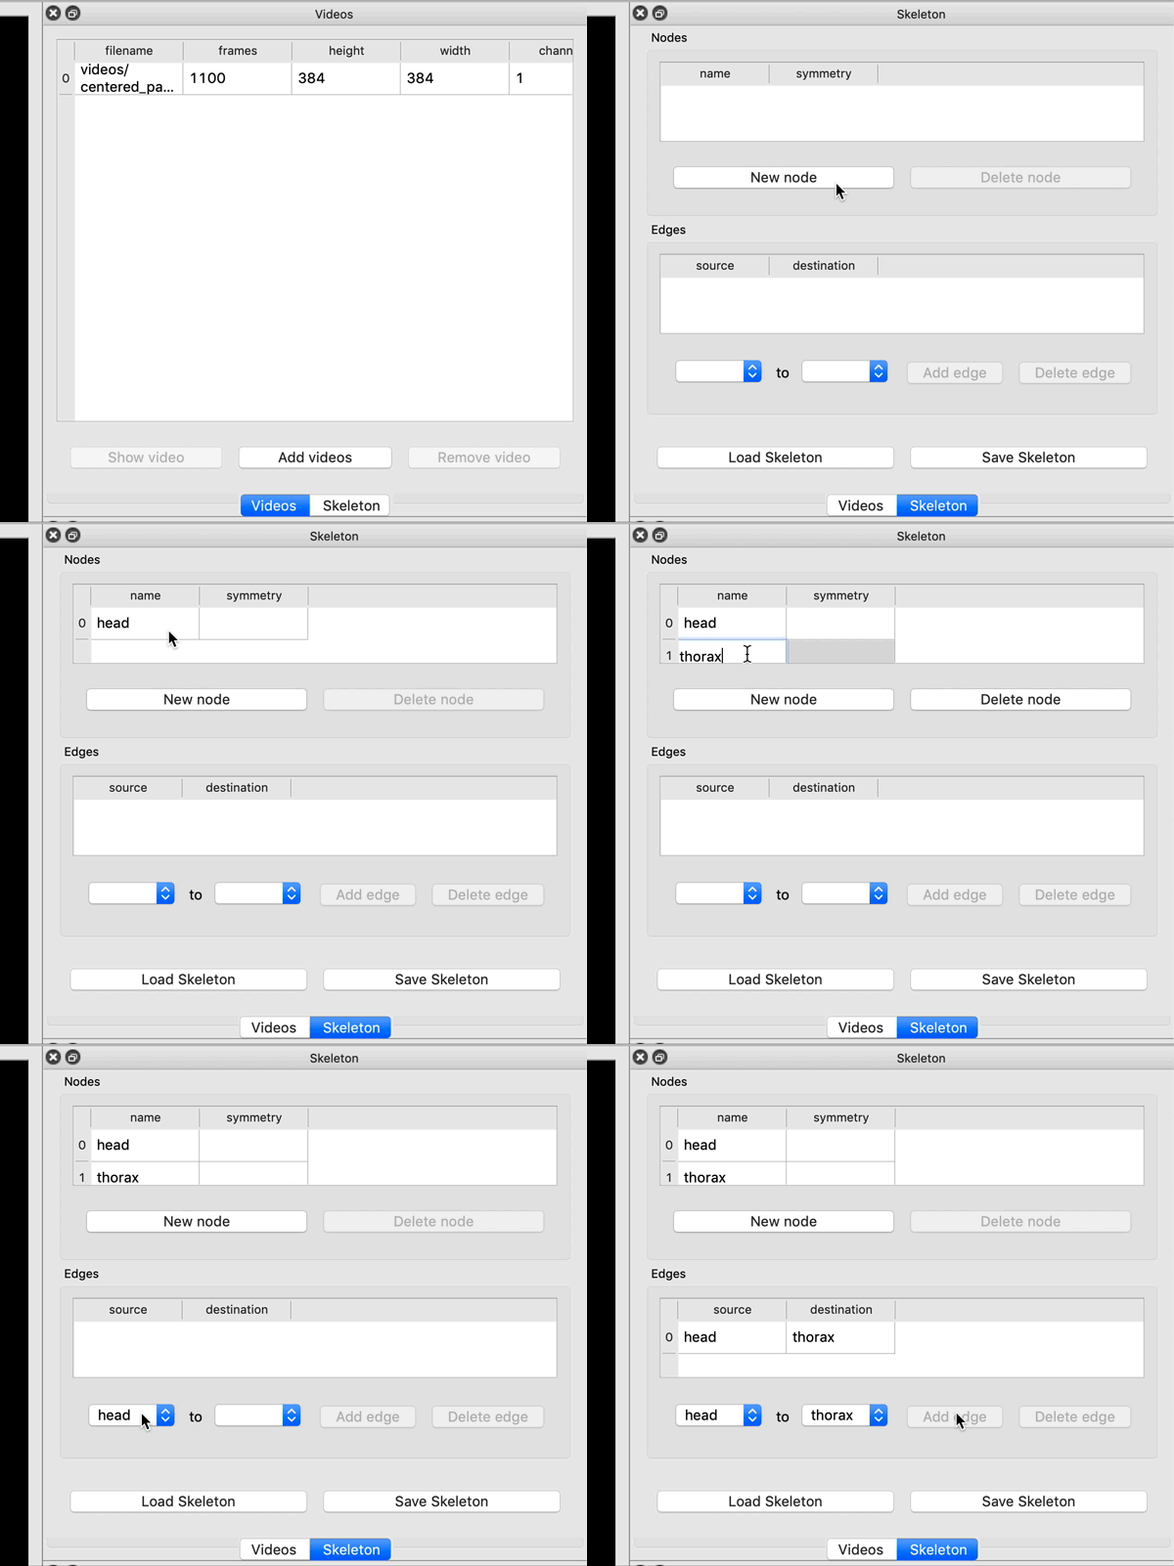
Create a new skeleton using the “Skeleton” panel on the right side of the main window.
Use the “New Node” button to add a node (i.e., joint or body part). Double-click the node name to rename it (hit enter after you type the new name). Repeat until you have created all your nodes. You then need to connect the nodes with edges. Directly to the left of the “Add edge” button you’ll see two drop-down menus. Use these to select a pair of nodes, and then click “Add Edge”. Repeat until you’ve entered all the edges.

Continue to Initial Labeling.
