Training with GUI#
To run training, select “Run Training…” from the “Predict” menu. This trains new models using the frames that you’ve already labeled in your project, and then uses these models to predict instances in the suggested frames that you haven’t yet labeled (or on other random frames). This process can take a while, and since it runs on your machine, you should only try it if you have a GPU installed.

By default, training uses the training settings which we’ve found to work well on a wide range of videos. We train a “centroid” model on 1/4 scale images and then use this to crop where we think there are instances during inference. Another “instance centered” model is trained on full-sized, cropped image to predict the nodes for an instance at the center of each cropped image.
At the top of the training dialog, you’ll see tabs for each of the models. This is where you can configure the model architecture and hyperparameters.
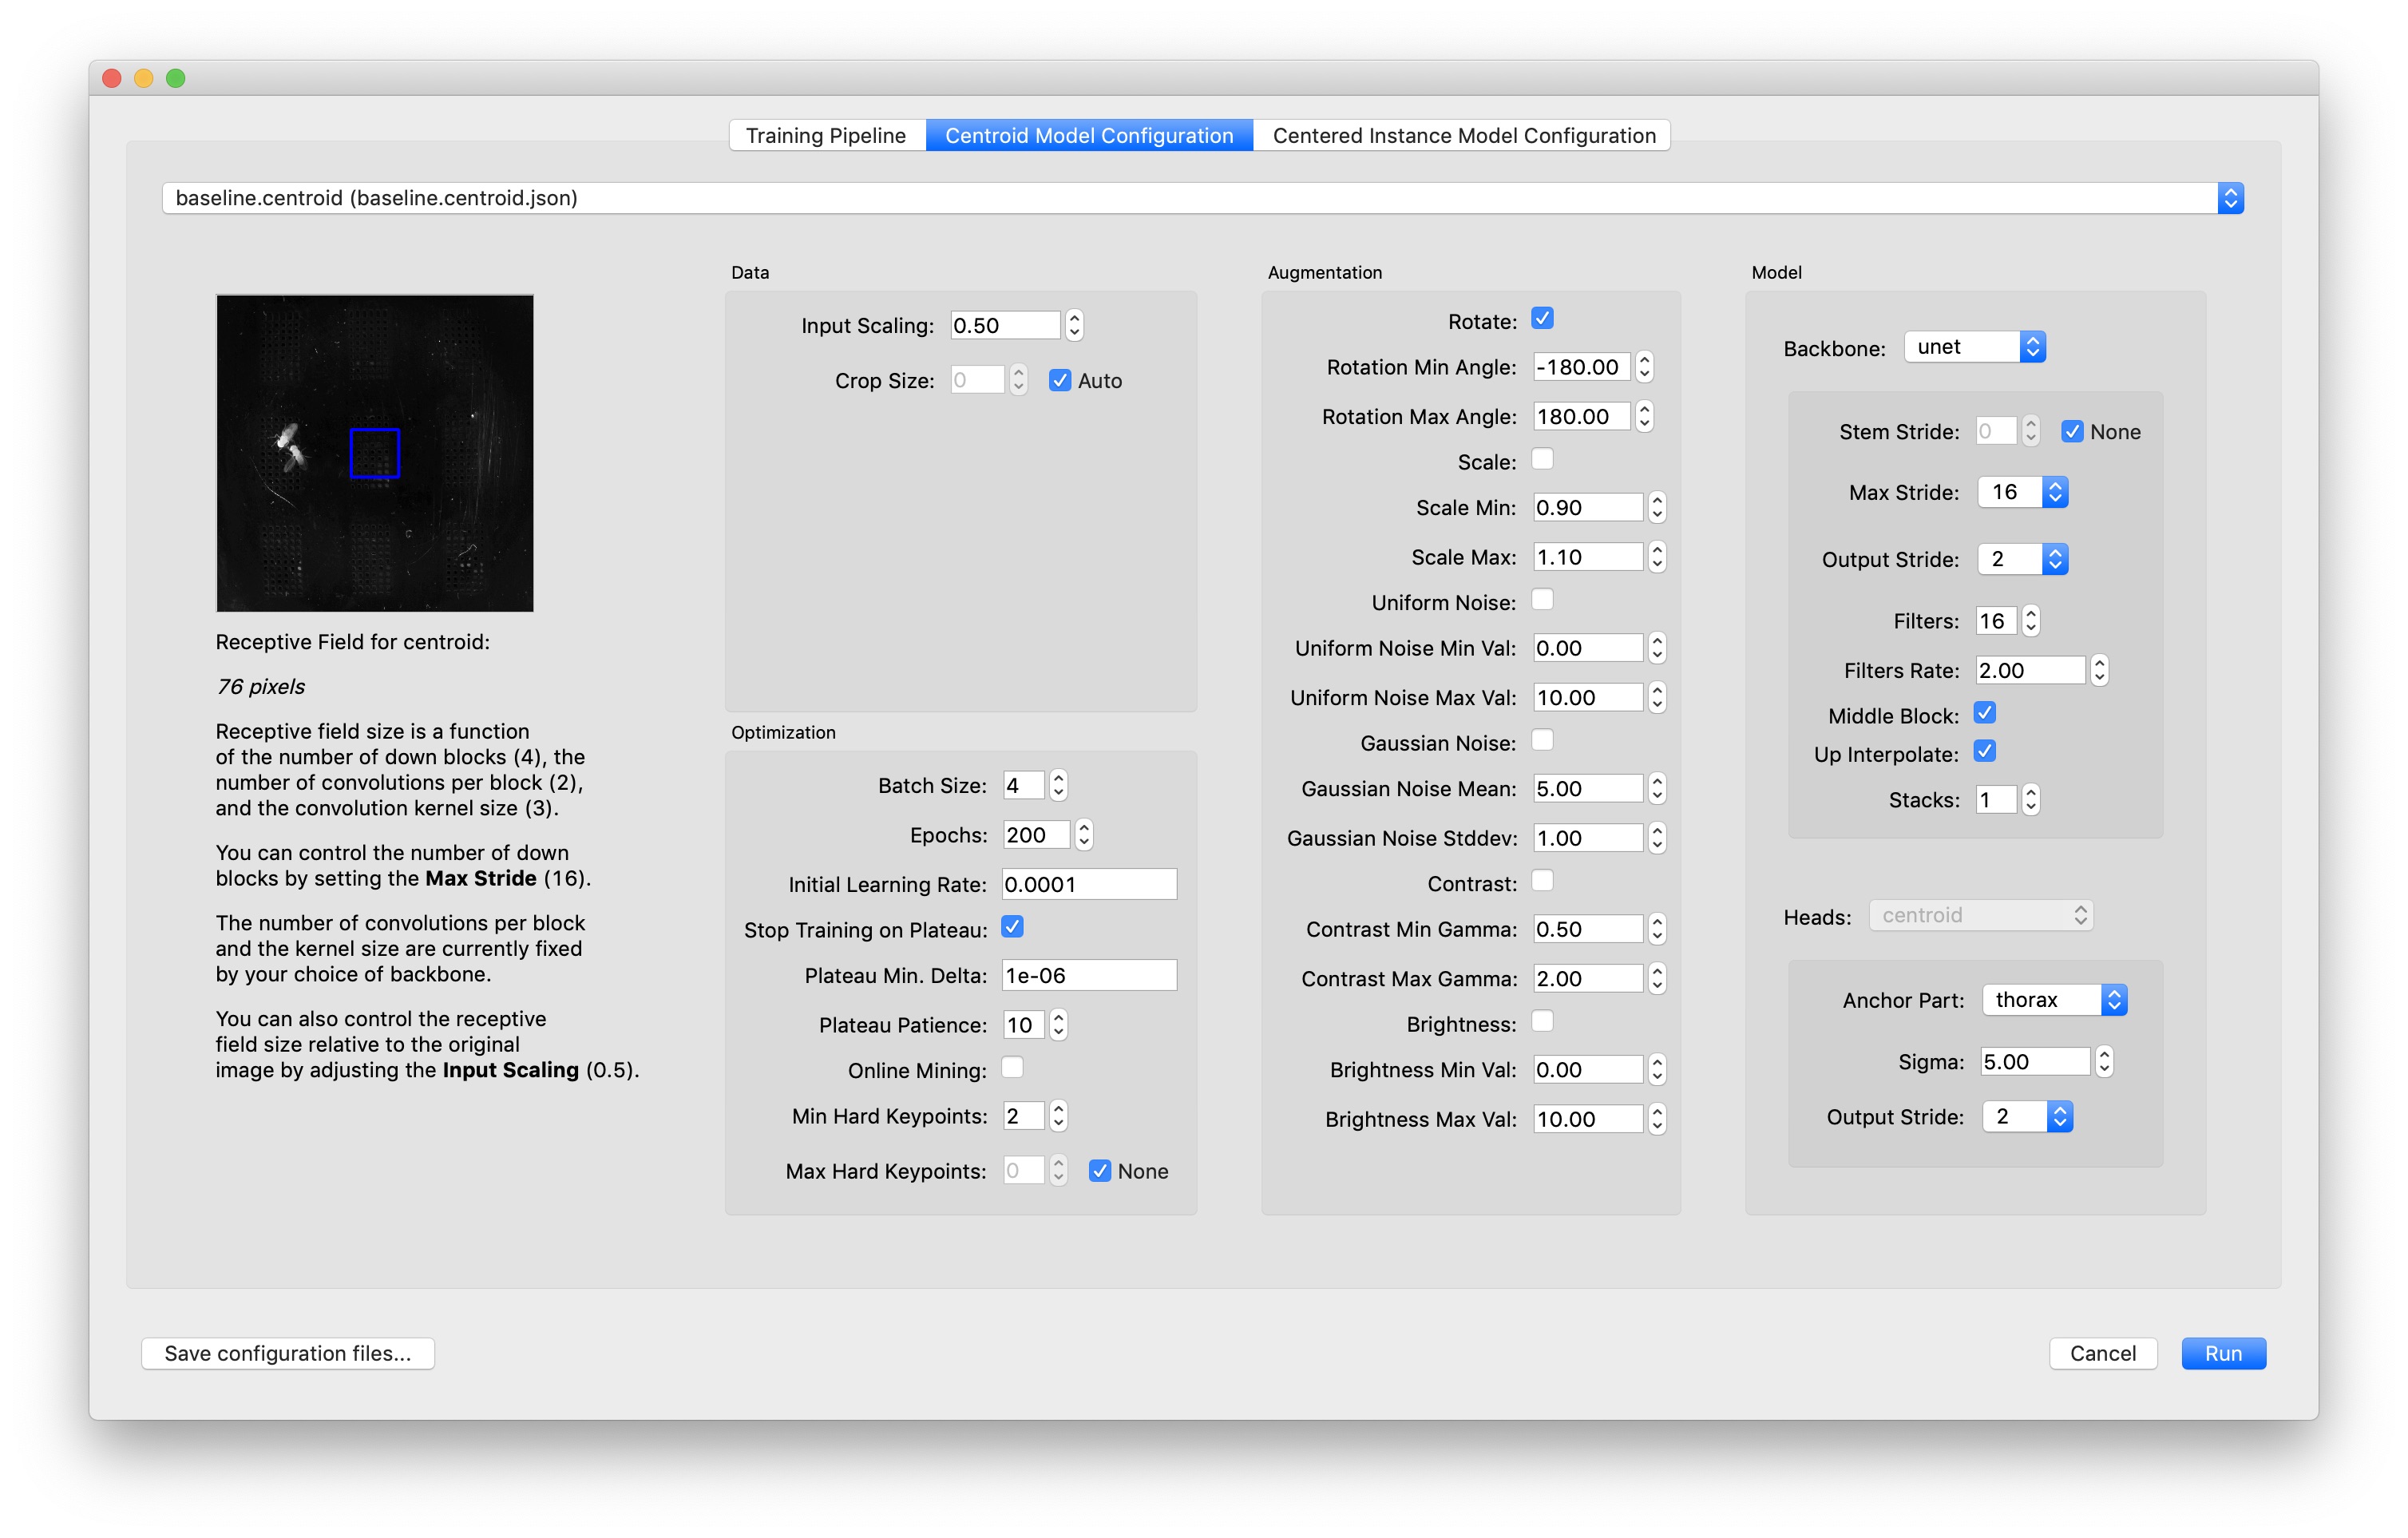
There are a few hyperparameters that you can control for active learning:
Crop size lets you set a specific crop size, or you can use “None” to let SLEAP determine a crop size for you based on the size of your labeled instances.
Batch Size determines how many samples are used to train the neural network at one time. If you get an error that your GPU ran out of memory while training, you should try a smaller batch size.
You can visually preview the effects of these settings on the training data by clicking the “View Training Image Inputs…” button on the Training Pipeline tab.
You should also note the Receptive Field preview:
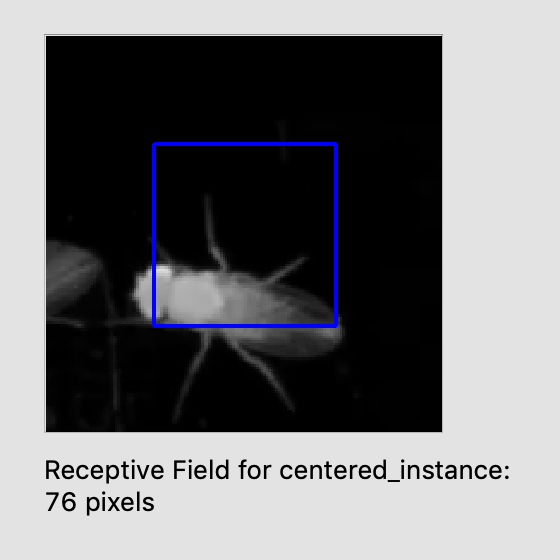
This lets you see the receptive field size of the model give the current settings; you can zoom and drag the image just like you can when labeling frames.
The receptive field is the amount of visual “context” around each pixel in the image that will be used for the prediction at that pixel. For a U-Net backbone (the default) it’s a function of the “max stride”, and in a way also a function of the image input scaling (since scaling will give you a larger field relative to the original image).
After setting the parameters click “Run”. During the training process, you’ll see a window where you can monitor the loss. Blue points are training loss for each batch, lines are training and validation loss for the epochs (these won’t appear until the second epoch has finished.) There’s a button to stop training the model when you think is appropriate, or the training will automatically stop if the model doesn’t improve for a certain number of epochs (15 by default)